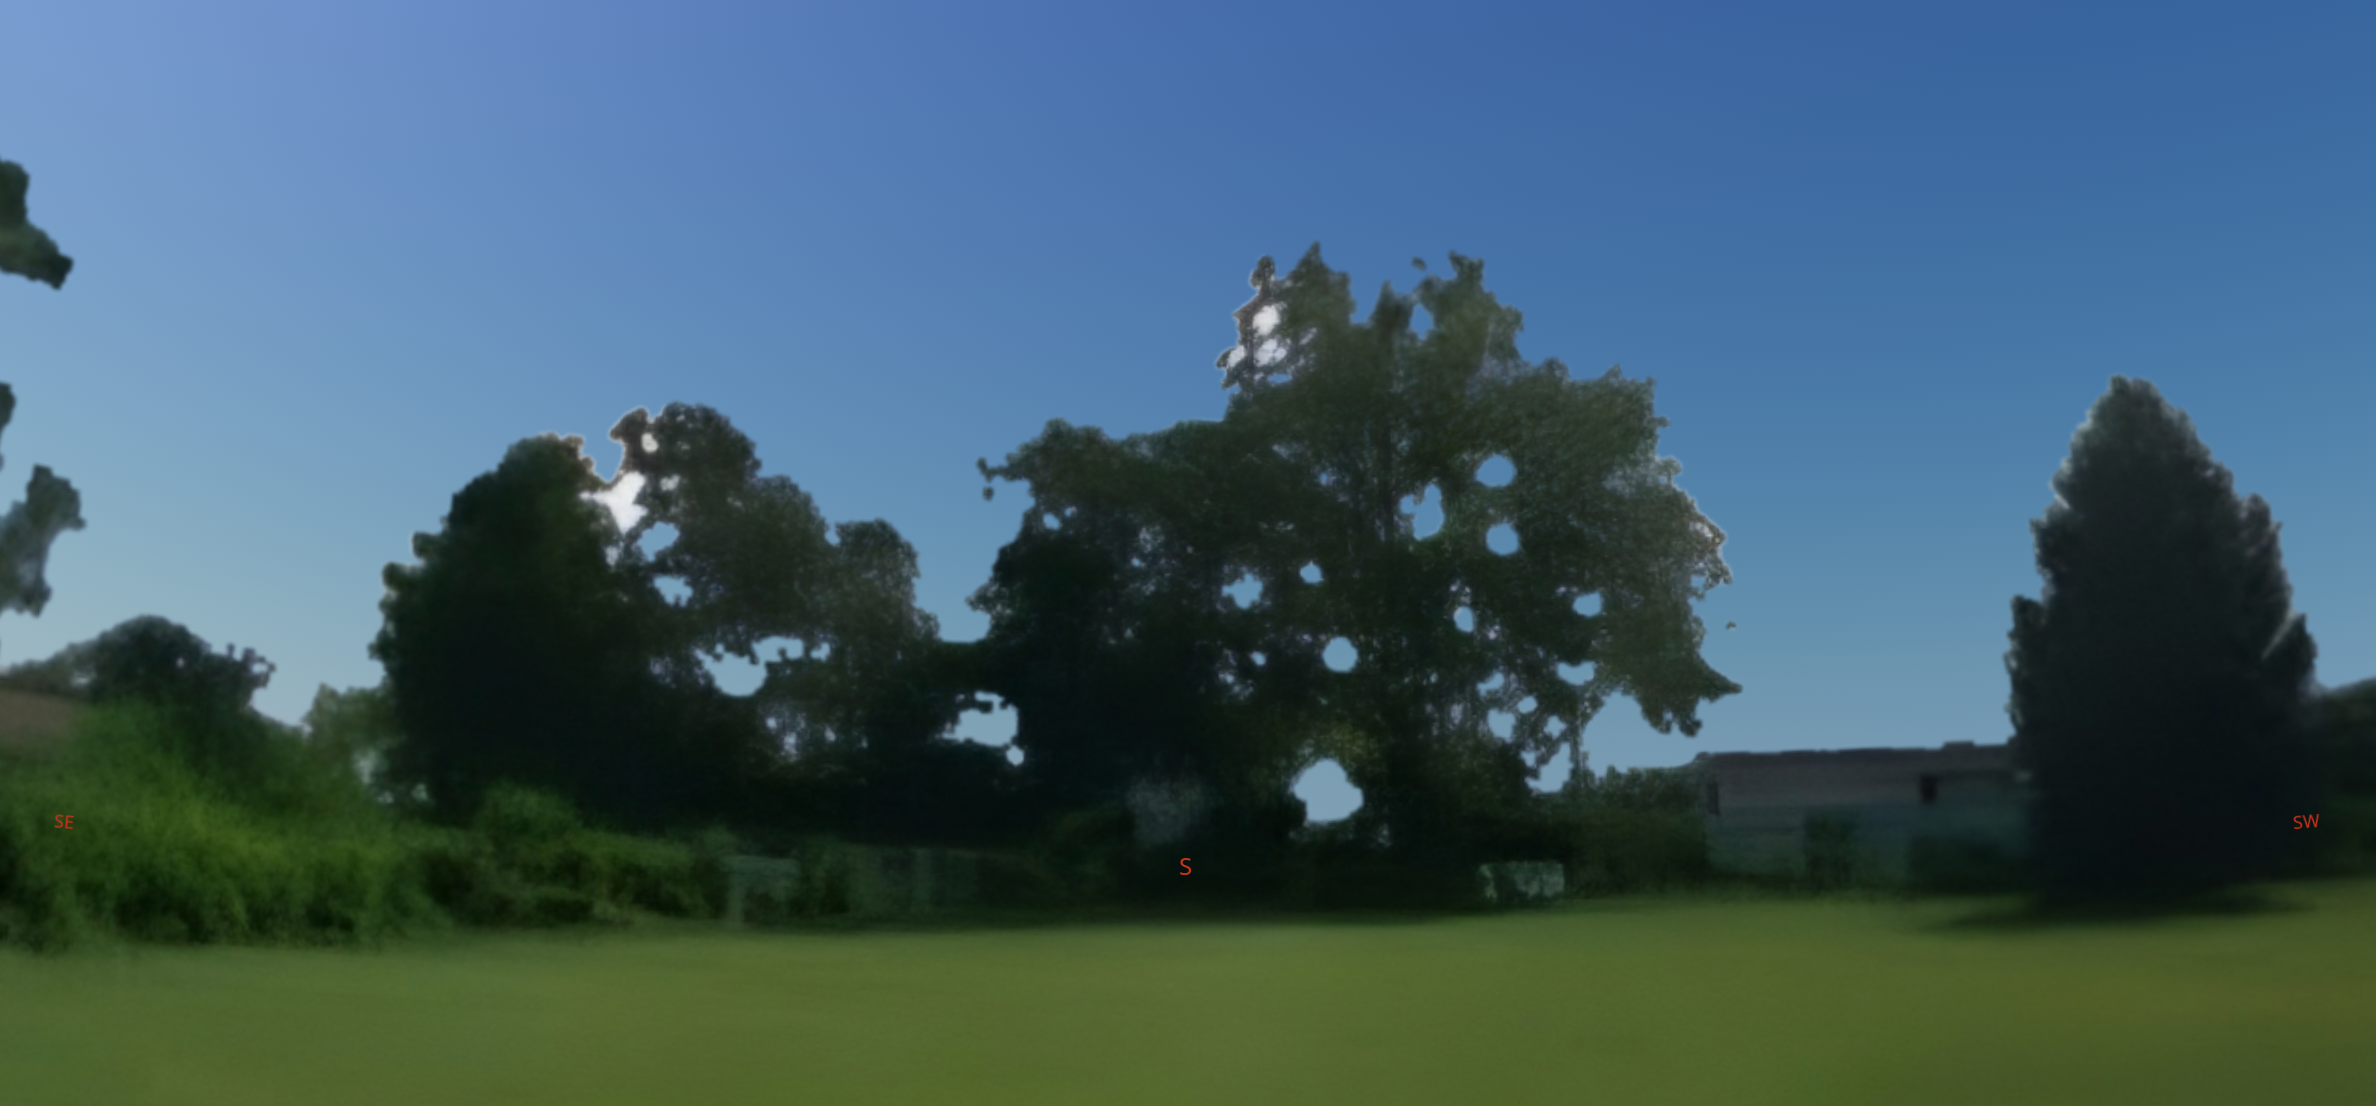
Turn Phone Panorama into Stellarium Landscape

The default Stellarium landscape is an open field with pretty much nothing blocking your view of the night sky. I don’t know about you, but my situation is not quite so ideal. Luckily, adding your own custom landscape can be done with ease — especially these days.

Adding a custom landscape of my backyard lets me see exactly which night sky objects I should be able to view through my telescope. It tells me when things move behind trees or behind houses — and in general, it simplifies the planning process.
The 2026 Way
If you’re comfortable with AI, this process can be incredibly simple.
- Take the panorama. You’ll need a phone with a panorama mode — all the recent Samsung phones have it, and most other phones do too. Take it from where your telescope actually sits, and sweep the full circle, slightly past where you started.
- (Optional) Use your phone’s built-in AI to erase items in your backyard and clean up the image. Samsung’s Galaxy AI handled this well.
- Import the image into your favorite AI platform for sky removal. (I found the Samsung AI didn’t work well for sky removal — this is where Claude came in.)
AI Sky Removal Prompt to copy and paste:
Here is a 360° panorama of my backyard taken with my phone. Please remove the sky, including all clouds, and make it fully transparent, and give me the result as a PNG with an alpha channel. Keep everything else — trees, houses, fences — fully intact. Watch out for white buildings being mistaken for clouds, and make sure sky showing through gaps in tree branches is removed too.
- Ask the AI to create the ZIP file required for installing a new landscape into Stellarium.
Zip Creation Prompt to copy and paste:
Now package this as a Stellarium custom landscape. Create a ZIP containing the transparent PNG and a landscape.ini using the “spherical” landscape type, with the viewing angles calculated from the image geometry. It’s a full 360° phone panorama. Leave the latitude and longitude in the file blank so I can fill them in myself.
- Open the ZIP and edit the
landscape.inifile to add your latitude and longitude under the[location]section. - Load Stellarium and hit F4. Go to the Landscape tab → Add/remove landscapes → Install a new landscape from a downloaded ZIP archive, and select your zip. Check “Use this landscape as default” and the landscape pops right up.
- Check the orientation. Mine installed facing the wrong direction entirely — the landscape has no idea which way is north. Figure out where true north actually is in your yard (a compass works, but remember it points magnetic north; if your mount is polar aligned, sighting along the polar axis is even better).
- Rotate the landscape to match. Stellarium extracts the zip when you install it, so don’t re-zip anything — edit the live copy directly at
%APPDATA%\Stellarium\landscapes\(paste that into the Explorer address bar). Open thelandscape.inithere and change theangle_rotatezvalue, then in the F4 landscape list click onto a different landscape and back onto yours to reload it. Repeat until your north landmark sits under Stellarium’s N marker (press Q to show cardinal points).
The Manual Way
If you’d rather skip the AI, the only step that really changes is removing the sky yourself. Free options: GIMP or Photopea (runs in the browser) — or Photoshop if you have it. The short version: add an alpha channel to the layer, use Select by Color (or the Magic Wand) on the sky, and delete it. Zoom in and get the sky peeking through gaps in the tree branches too, then export as a PNG — JPEG will throw away the transparency.
From there you can make the ZIP file yourself. It only needs two files: your transparent PNG and a landscape.ini configuration file, zipped together (no folder needed). The ini should be structured like this:
[landscape]
name = My Backyard
type = spherical
maptex = backyard.png
maptex_top = 45      ; degrees above the horizon at the top of your image
maptex_bottom = -50  ; degrees below the horizon at the bottom of your image
angle_rotatez = 0    ; compass rotation - adjust as in step 8 above

[location]
planet = Earth
latitude = +40.000
longitude = -75.000
altitude = 90
Swap in your own PNG filename, coordinates, and altitude (in meters). The two maptex angles describe how much of the sky your photo covers — a rough estimate: divide your image width by 360 to get pixels-per-degree, find the pixel row where the distant horizon sits, and the top angle is that row divided by the pixels-per-degree. Close is good enough for planning around trees. Then install the ZIP the same way as step 6.
